Dragon 32 Raspberry Pi 1B case

3D design
I found, linked in an email (I think) a rather cute 3D printable design for a BBC Micro, so thought I might give it a go. My brother-in-law, Rob, was kind enough to bring me some wood coloured filament when he visited for the weekend last month; since we had plenty of filament left, he challenged me to do a similar one for the Dragon 32, which is another computer I hold dear from my teenage years.
The challenge was a tantalising one - especially since I've got at least one old Raspberry Pi model 1B lying around doing nothing. Perhaps I could design a case for it in the design of a Dragon 32, and then run an emulator on it that could actually recreate it.
I've been using Fusion 360 for a while, so I set to work with my digital calipers (an inexpensive essential for measuring up things to make in 3D) and, after having to redraft, I think it came out OK. I made it in three pieces - the base, the lid and a keyboard in black, and it turned out to be an exact 1:4 scale to the original.
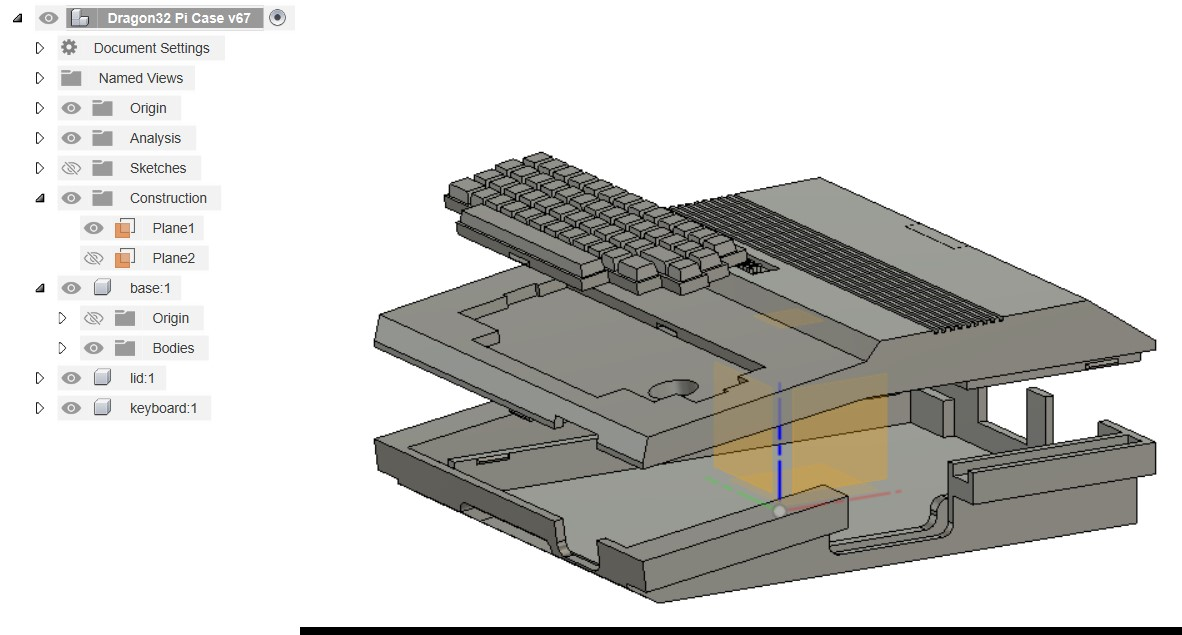
I had to desolder the 26 pin GPIO header so it would fit - and indeed, make a hole in the lid to accommodate the capacitor, but it all fitted very nicely.
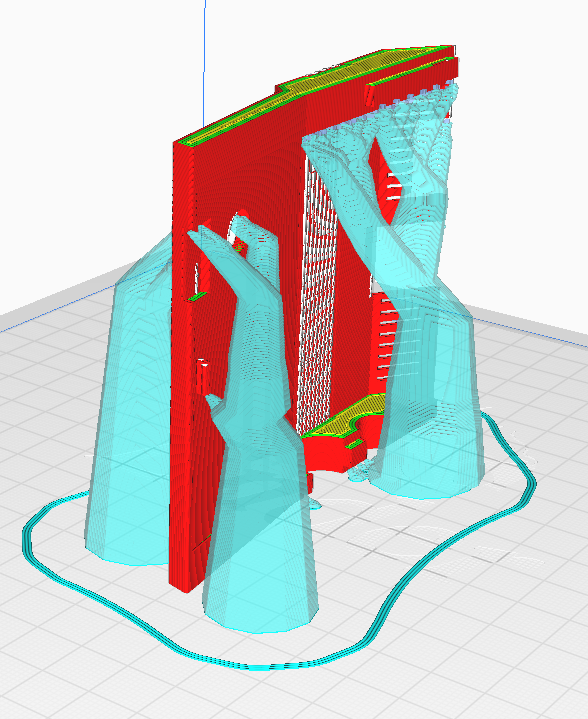
It wass a bit of a challenge to print the lid, since there were details on each face that would be lost due to the way 3D printers print; I ended up slicing it in Cura, and printed it on its left edge, using the tree support to support the right part at the top.
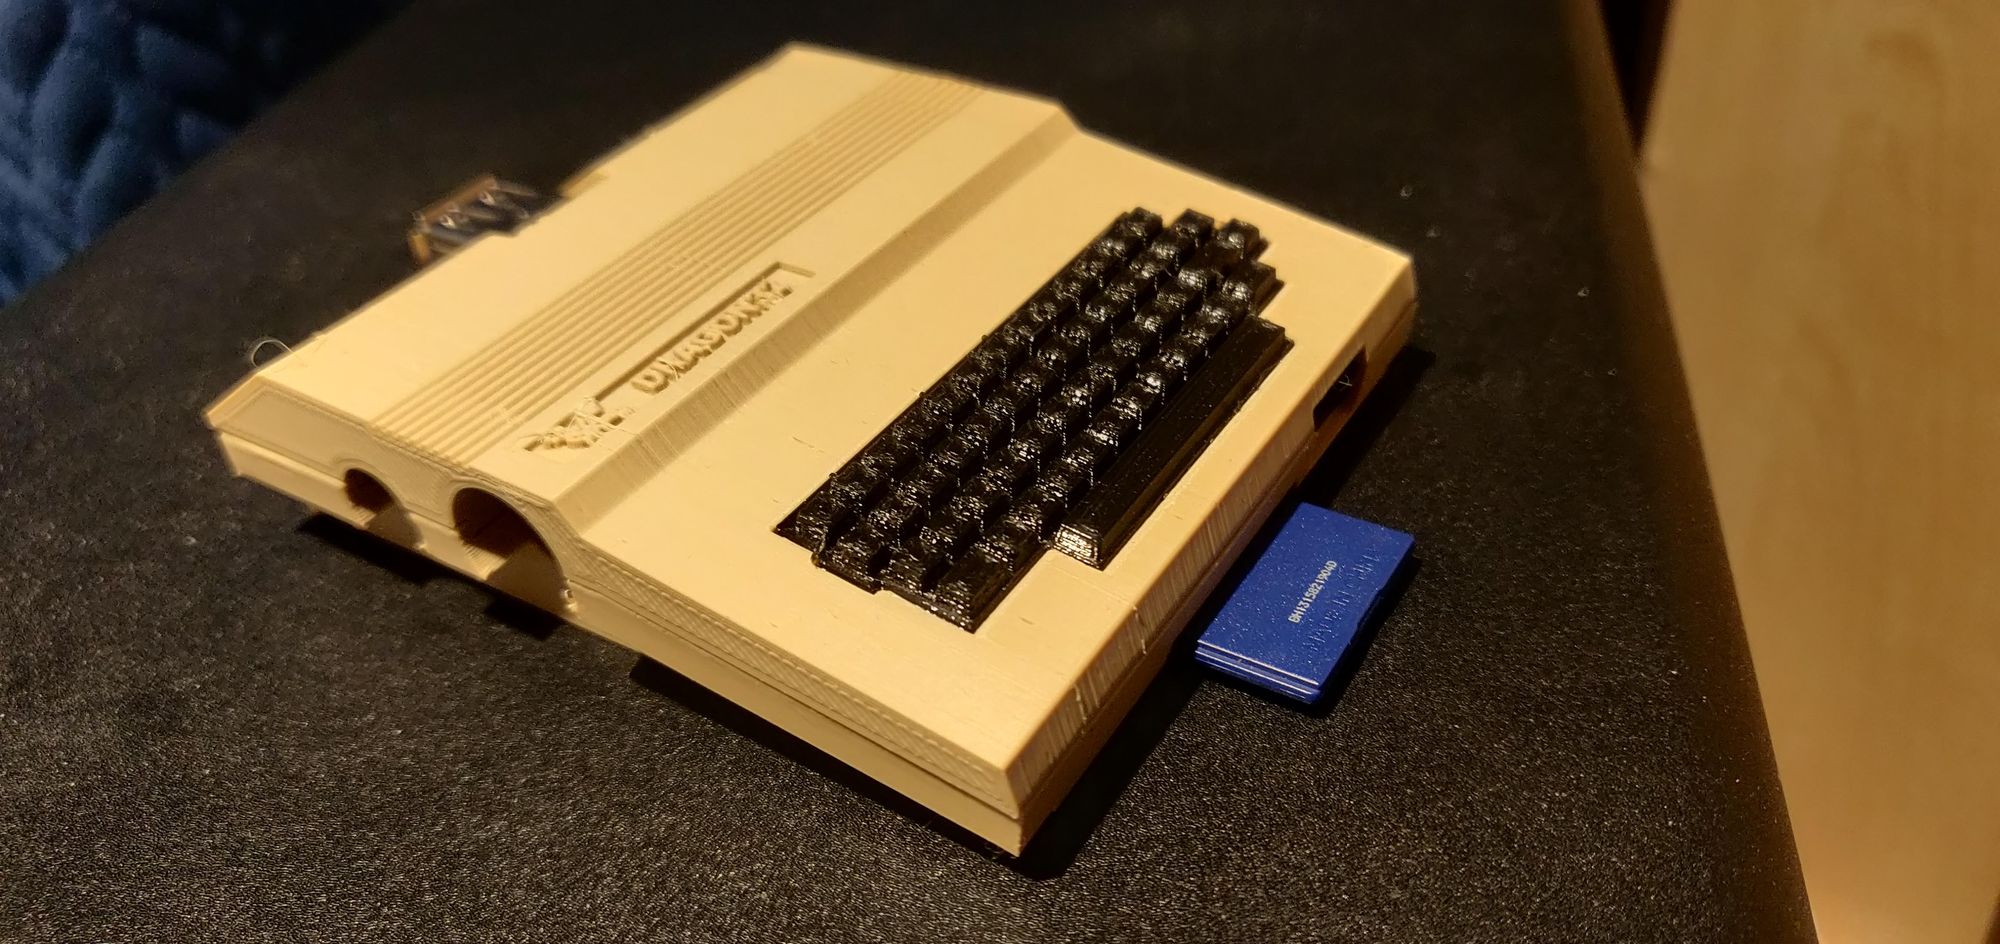
Here, then, is the finished product - not quite perfect, but I was pleased with how it turned out.
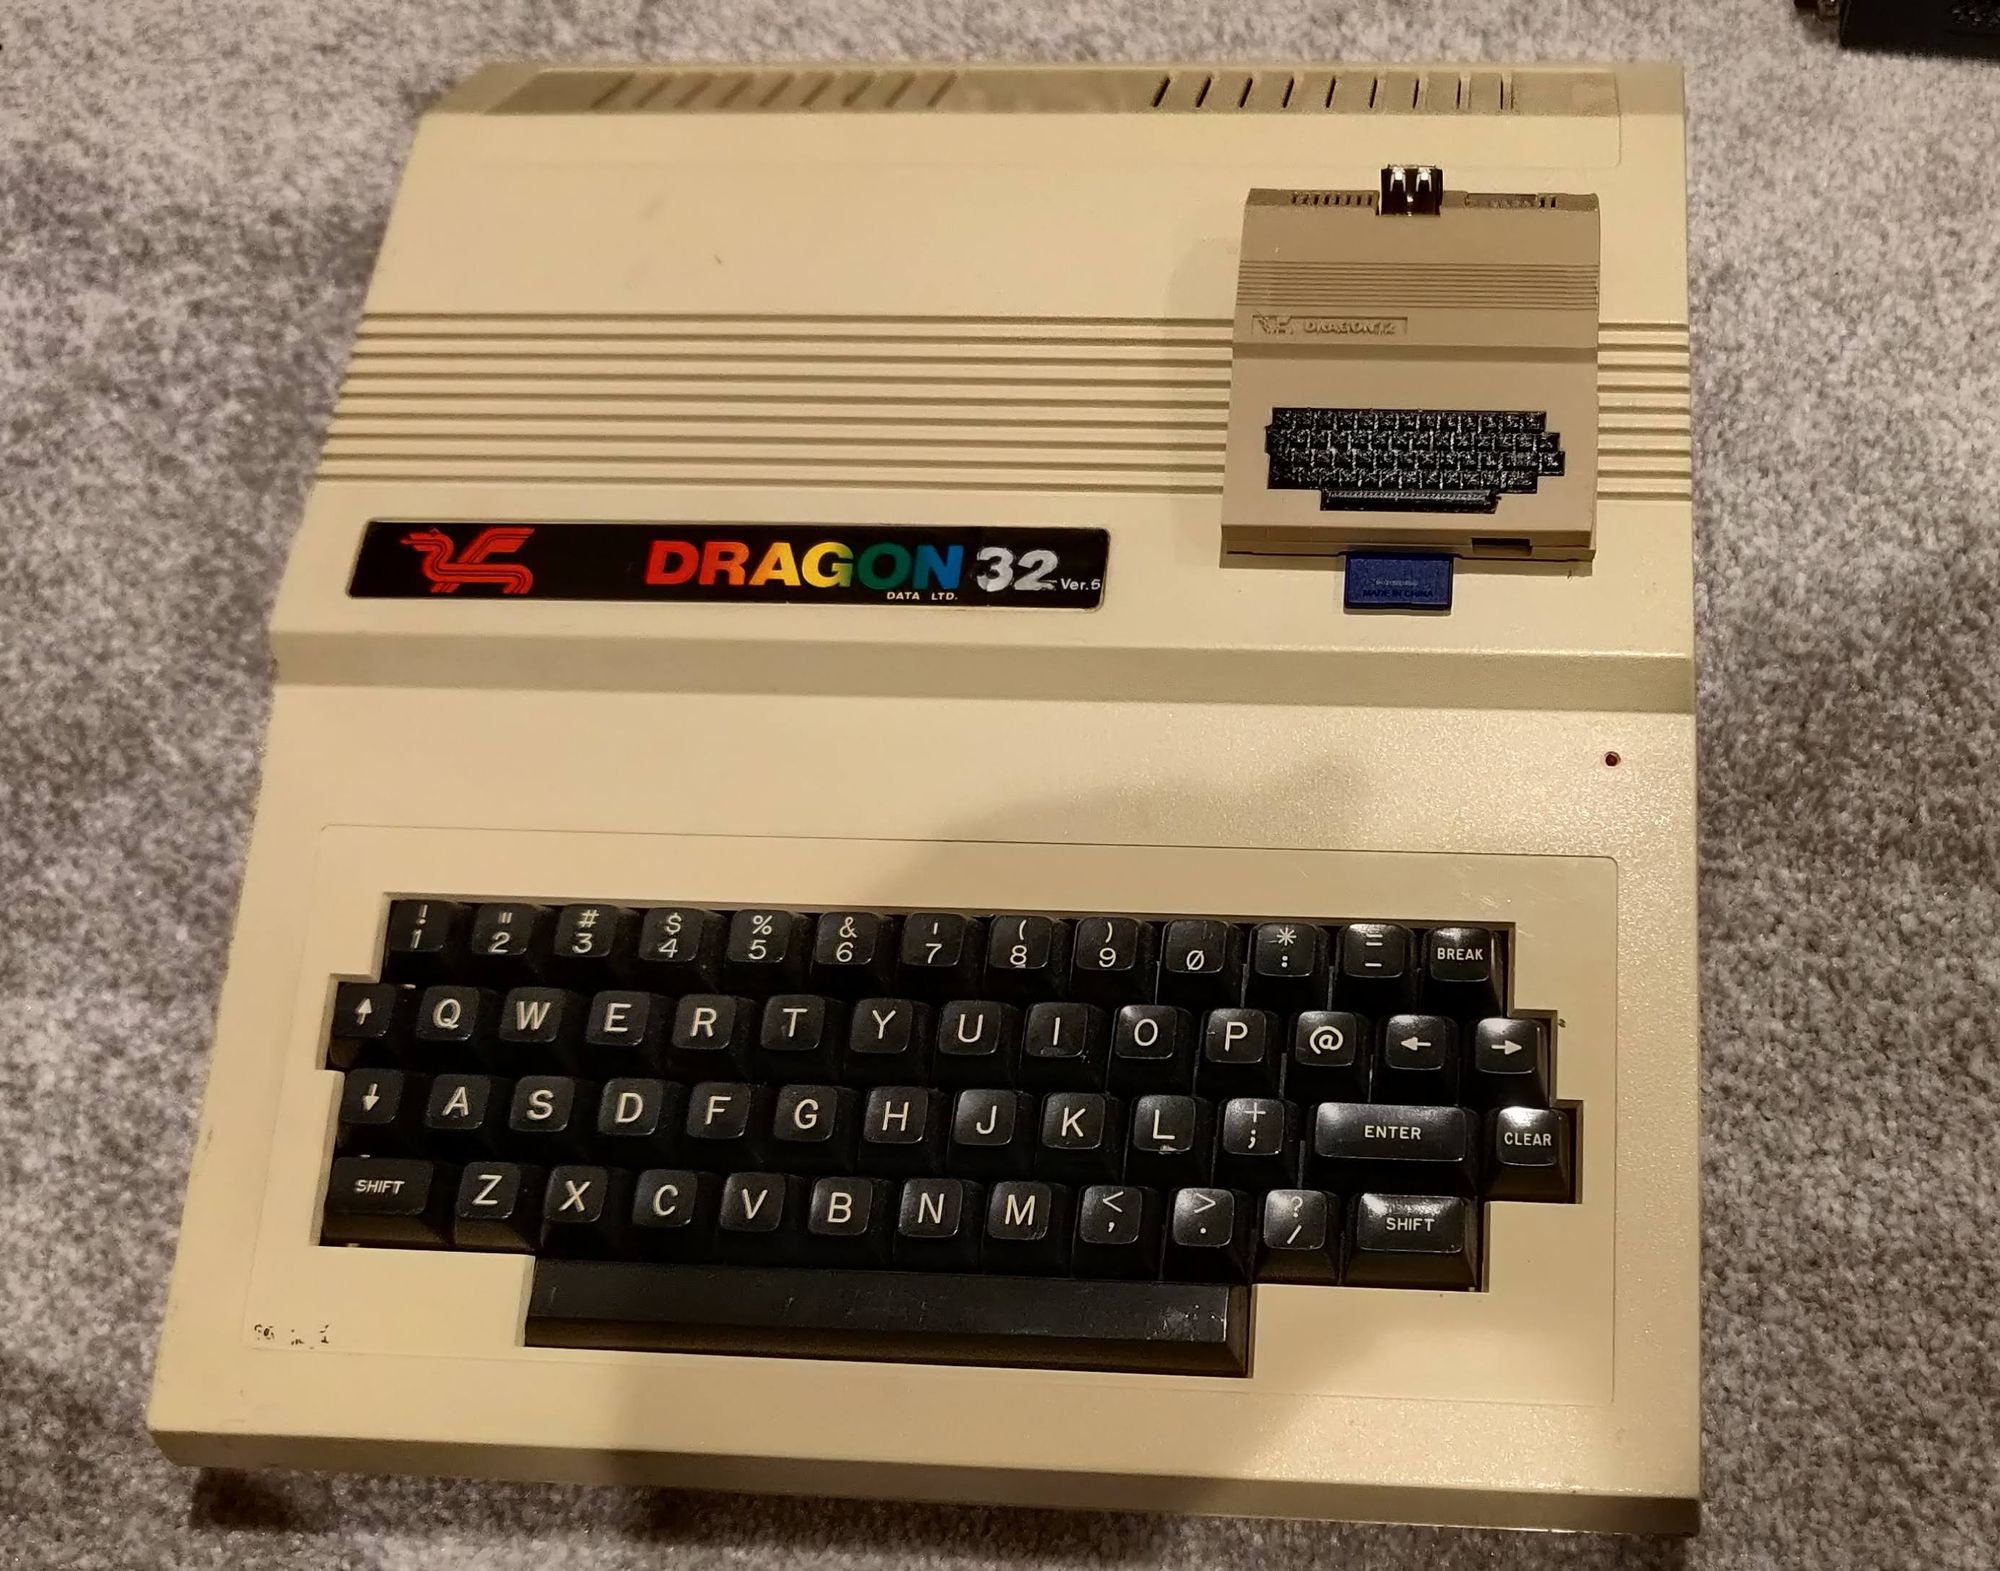
Here are the two in comparison:
The printable design can be found here: https://thangs.com/designer/zx85/3d-model/Dragon 32 case for Raspberry Pi 1B-952861
RetroPie
To get it running a Dragon 32 emulator, I downloaded and installed RetroPie on a convenient SD card. This is where it got a bit complicated, since there are a few bits to add to get it working.
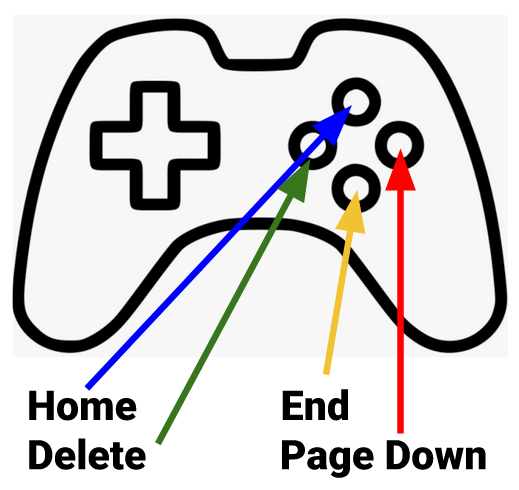
- First, Retropie presumes that a game controller is being used; I tend to use the following key assignments to co-ordinate with the button pattern. The arrow keys correspond to the directions on the D-Pad. I tend to use the '1' key for menu and '2' for start.
- It's necessary to overclock the Raspberry Pi 1B to get it to run at even close to an acceptable speed. This is done in
raspi-configin the RetroPie main menu, in the Performance options menu. I would recommend adding a heatsink to the CPU to prevent any issues with overheating - After restarting, navigate to the RetroPie menu and choose RetroPie setup. Once it's loaded, choose Manage Packages, and then Manage Optional Packages. Scroll down to xroar and select it. This will install the required emulator for the Dragon 32. The scant documentation for this can be found in the RetroPie Docs site.
- Finally - and this is the tricky bit - you'll need to find the Dragon 32 BIOS ROM online and somehow copy it to the appropriate directory on the Raspberry Pi. I found it easiest to connect an ethernet cable to the Raspberry Pi and, from the command line (exit out of RetroPie to do this), copy it down to
/home/RetroPi/BIOSwith the wget command. - If all has worked as expected, after a restart, there should be an extra menu item for Dragon 32. Then it's a case of downloading some cassette files to the
/home/RetroPie/roms/dragon32directory to be able to pick them. The easiest way to get to the BASIC prompt is to choose a game and hit CTRL-R. You can use CTRL-Q to quit to the games menu; more keyboard shortcuts can be found on the XRoar Dragon Emulator Manual page.

As you can see above, the old games work - obviously a game controller would be ideal to play the ones that require the analogue joystick and the sound isn't perfect, but it's been an interesting project, and a fun challenge!
I'll hopefully be publishing more blog posts about retro computers and things I've made very soon.