Solar Power Display - a voyage into Micropython
We were fortunate enough to be able to have some solar panels installed in January 2023, and it's made for compelling (some might even say obsessive) observation of the power generated through the day, and indeed as the year's gone on. We've got a Solis inverter which has a little wi-fi dongle attached to it that sends data to the cloud so that the data can be displayed on a web browser and mobile app.
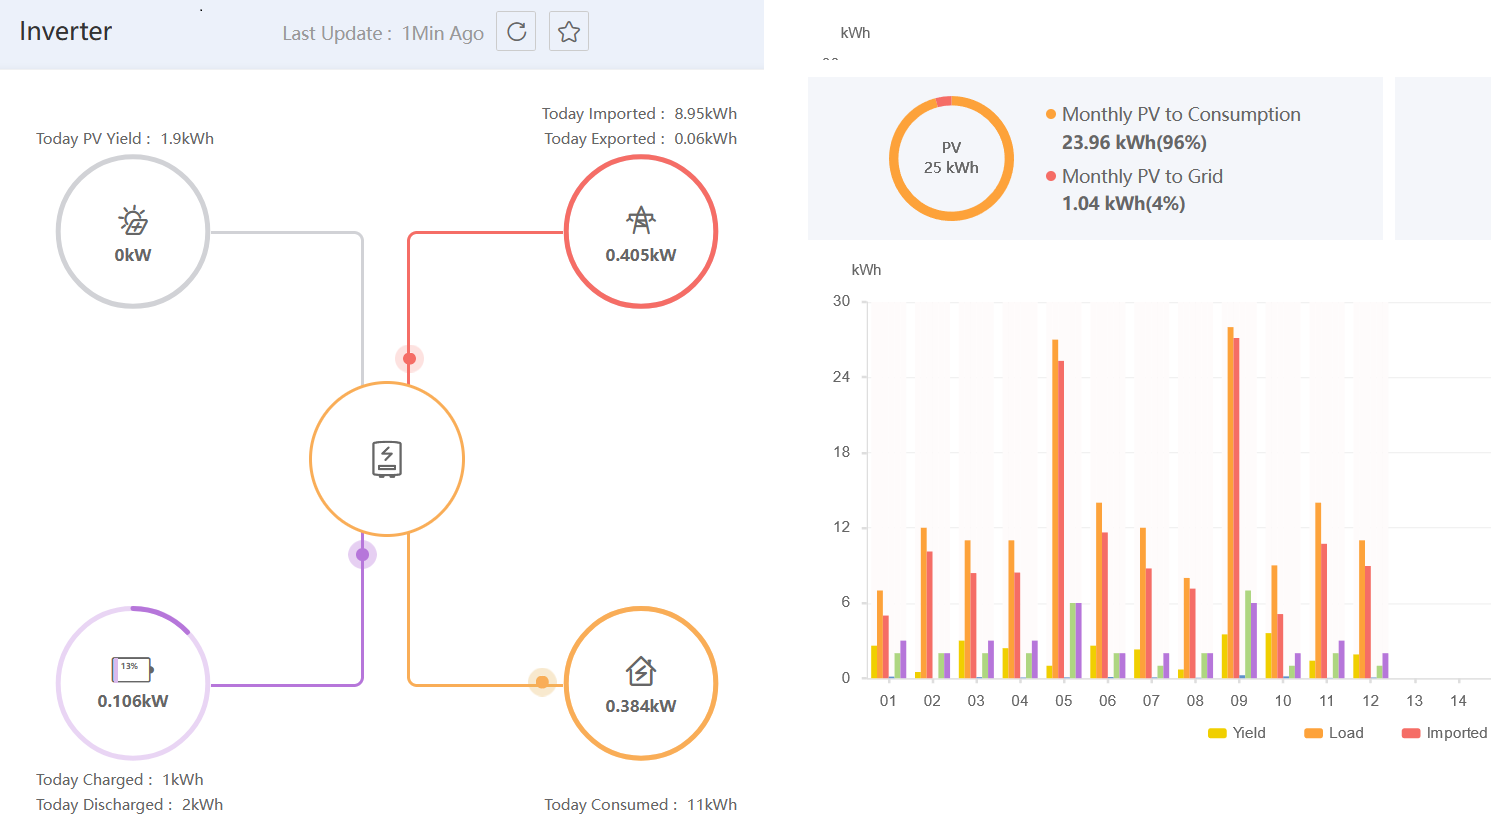
Even better, by filling in a simple form, they give access to an API that can even be integrated into Home Assistant, and I also collect the data into my own MariaDB SQL database for analysis using Google's Looker Studio.
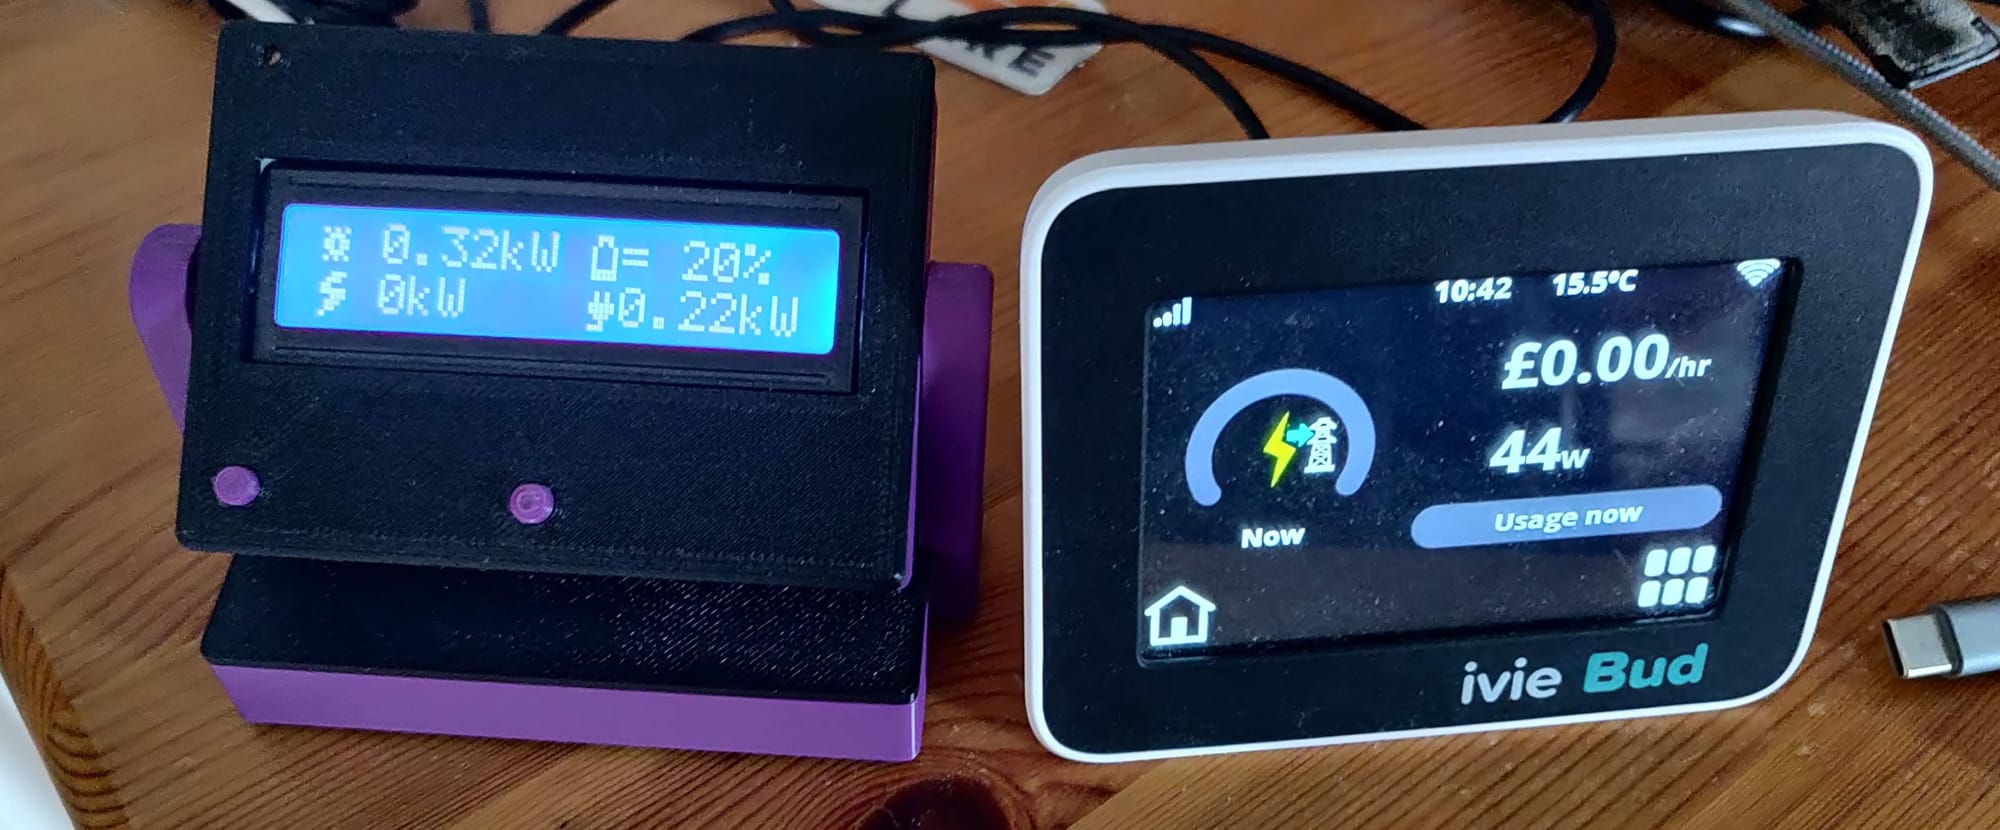
We've got a little smart meter display for our electricity use, and it occurred to me that it might be possible to build a little display that would give an at-a-glance generation of the solar panels, as well as the state of the battery and how much the house was currently using.
Over the past few years, I've been making good use of little microcontroller boards like the Wemos D1 mini to make little projects like wifi LED lighting controllers, and I recently discovered Micropython, which is a really easy way to program them.
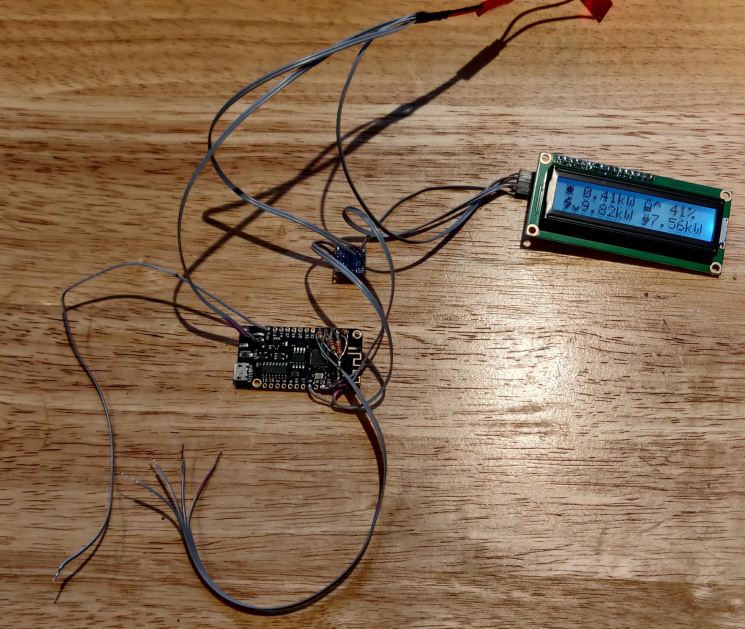
Add to that the relatively inexpensive displays that can easily be connected - like the two line I2C 1602 LCD, along with a really useful library that can display text on them, and I surmised that I could repurpose the Python scripts I made to collect the data, and pop it in a little display.
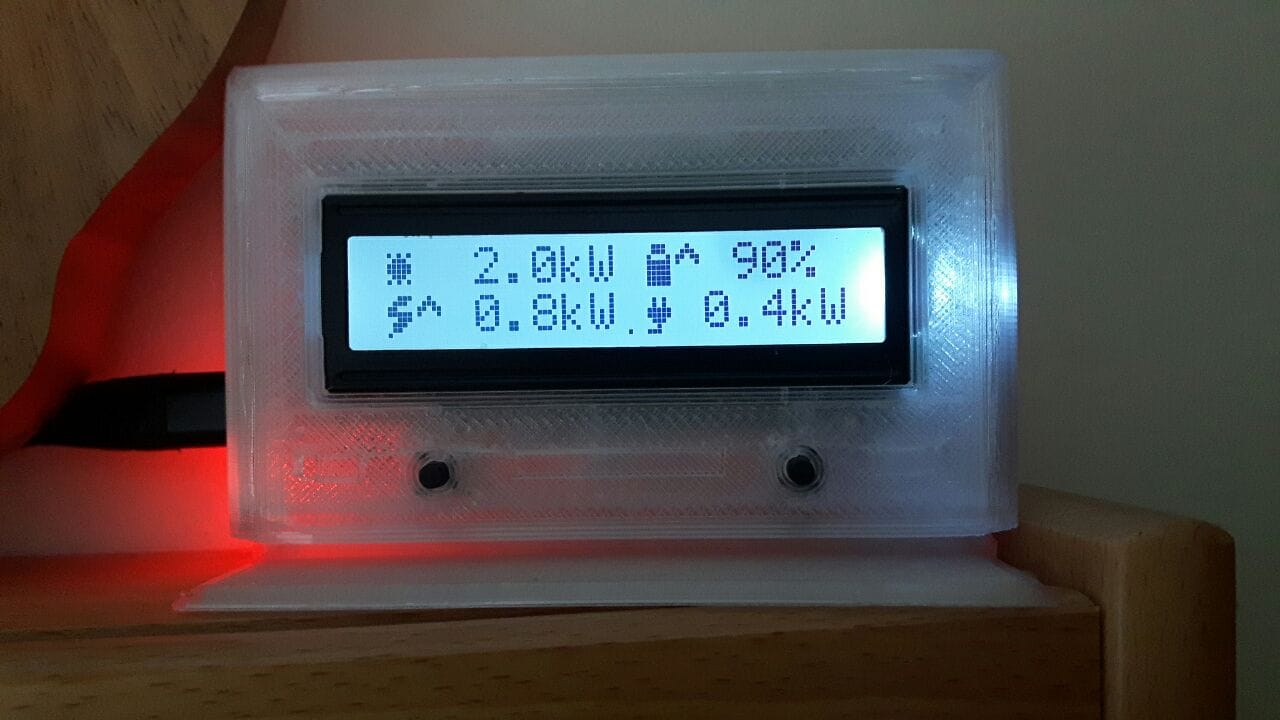
Above is a picture of 'version 1' of the Solar Display, which periodically grabbed a JSON file from my home automation Raspberry Pi, but I thought it should be possible to make one that could connect to the Solis API and download the data from there; in that case, other inverter users could make use of it as well. In fact, my pal Jon has exactly the same inverter, so I decided to build him one for Christmas. With parts from AliExpress and some judicious 3D printing, it would cost less than £10.
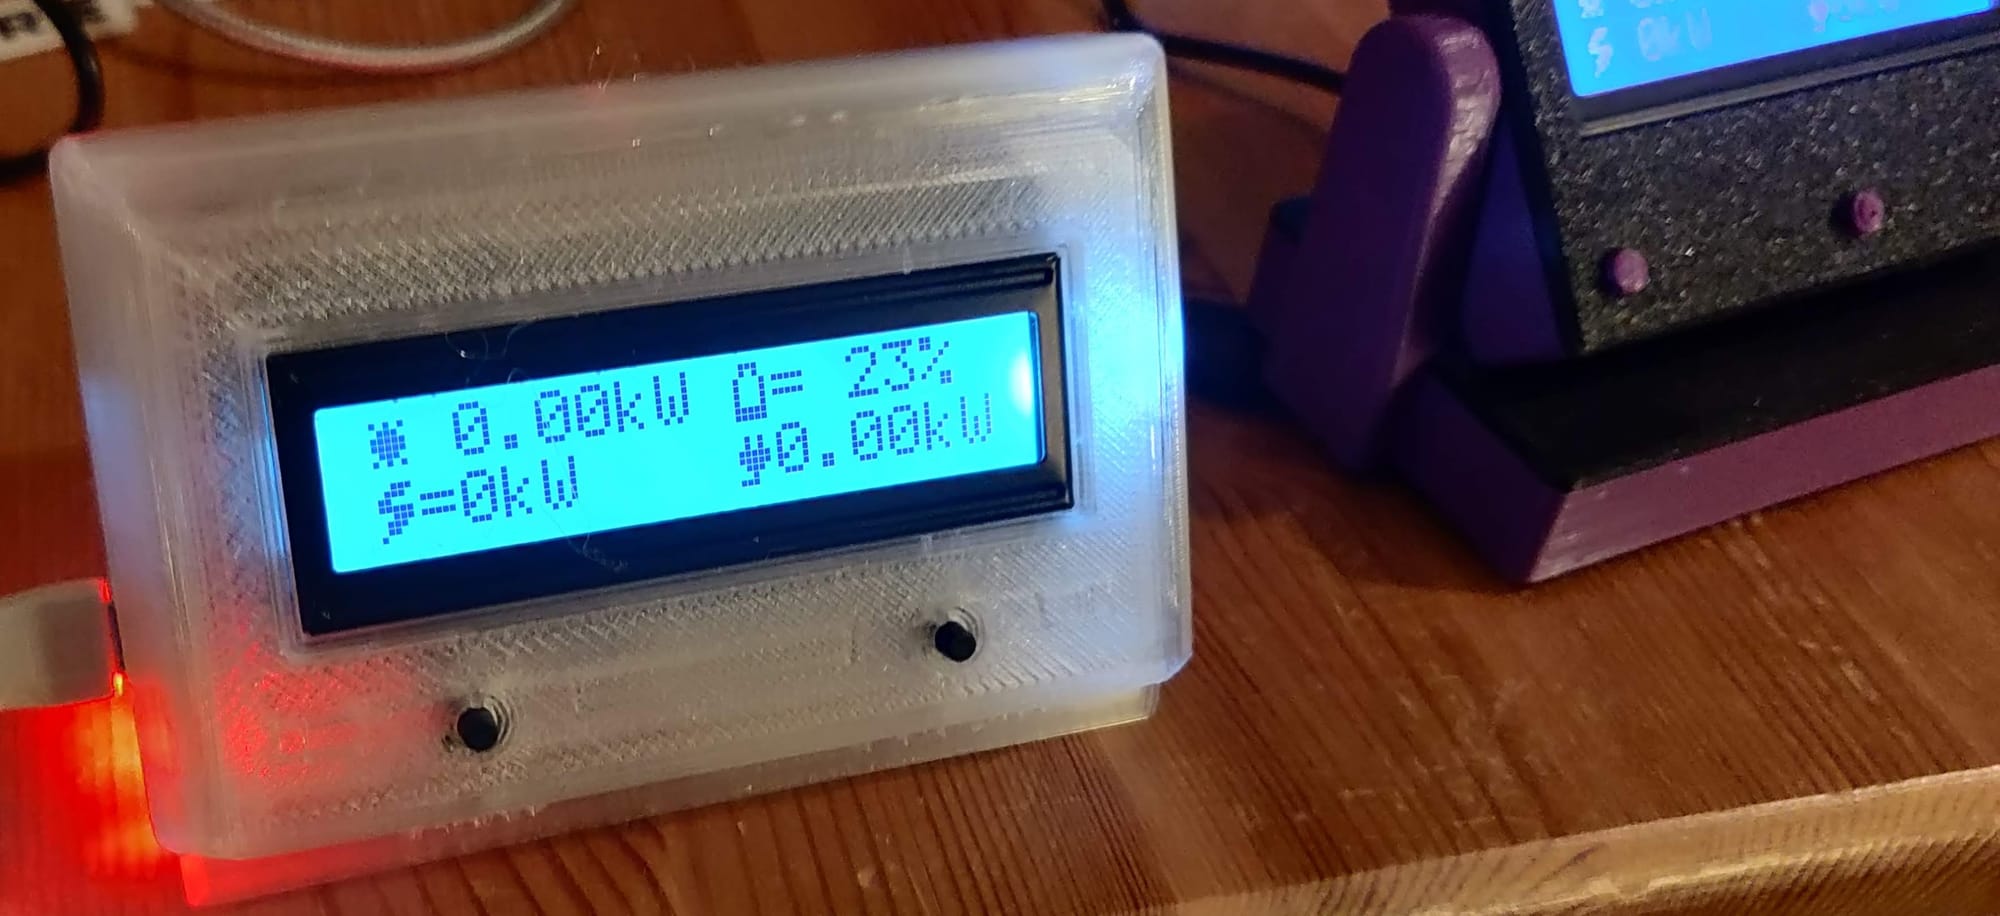
The tricky bit was getting the code to work - the little ESP8266 I had been previously for version 1 (which we're still using) could connect to the wifi and download a simple file with data to display, but with more complicated requests (and the complexity of the solis API's messages) I decided to use a slightly bigger device - the Wemos LOLIN32 lite.
Micropython: easy but slow and memory hungry
Until recently I've been programming ESP8266 and ESP32 controllers in C, starting off with the Arduino IDE and moving on to the PlatformIO plug-in for Visual Studio Code. There are plenty of downloadable libaries that support various bits of hardware and services, but when I heard that it's possible to use a version of Python, I succumbed to the temptation - it's my current language of choice for other projects.
The downside is that due to the way that the Python code is compiled to run on a Python virtual machine that's written in C; effectively it's one layer of code abstracted on another, so the speed and memory management isn't nearly as quick. I also had to be quite careful not to run out of memory, especially since the returned API data is pretty big - loading the response into a dictionary actually caused it to fail every few attempts.
That said, Micropython has support for things like asynchronous processes (and a really good tutorial on YouTube which explained how it works), so I could set up 'listeners' for button presses which didn't impede the main loop of code, and I managed to get most of it up and running in a few evenings.
As always, I uploaded the code to my GitHub repository - you can find it here:
https://github.com/zx85/solar-display-micropython. There's a bit more technical detail there about the software and the circuitry.
All this needed to go into a case, so once again I turned to Fusion 360 (free for personal use) and built a back plate that would house the circuit boards and a front section that could accommodate the screen and the I2C interface. It was just a case of measuring each PCB (plus 0.2mm) and adding a little indent so they 'click' into place.
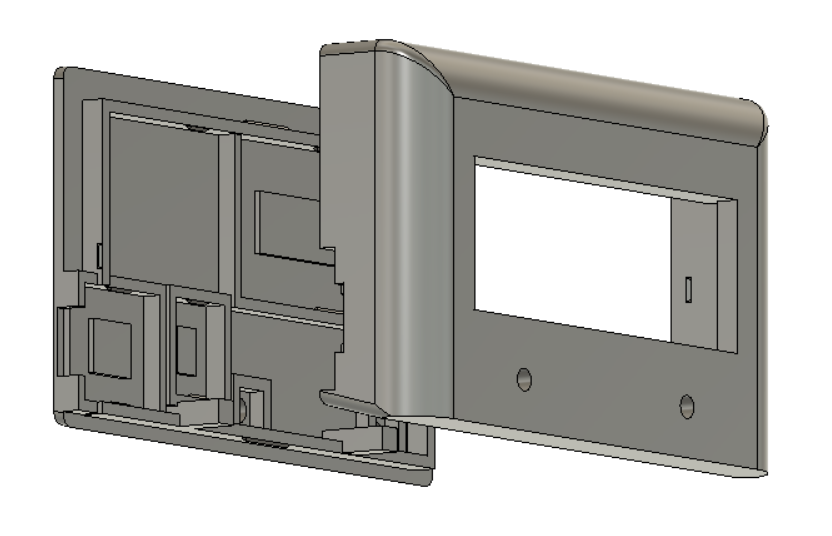
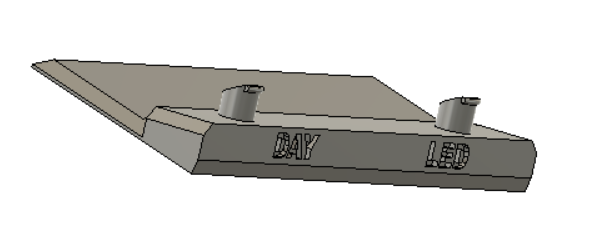
I set the base at an angle, but also included an extra stand, in case it's on a desk, so it can be seen from above.
It was all printed and ready to dispatch in time for Christmas - and I uploaded the design and code to my Github in the hope it might be useful for other people.
Conclusion
This was an interesting project, and it's always nice to give a (slightly) useful Christmas present. Of course, the code is far from perfect, and I'm going to need to sort out a few little niggles - version 2.1 will be on its way... eventually!